

- 14 September 2026|
- News
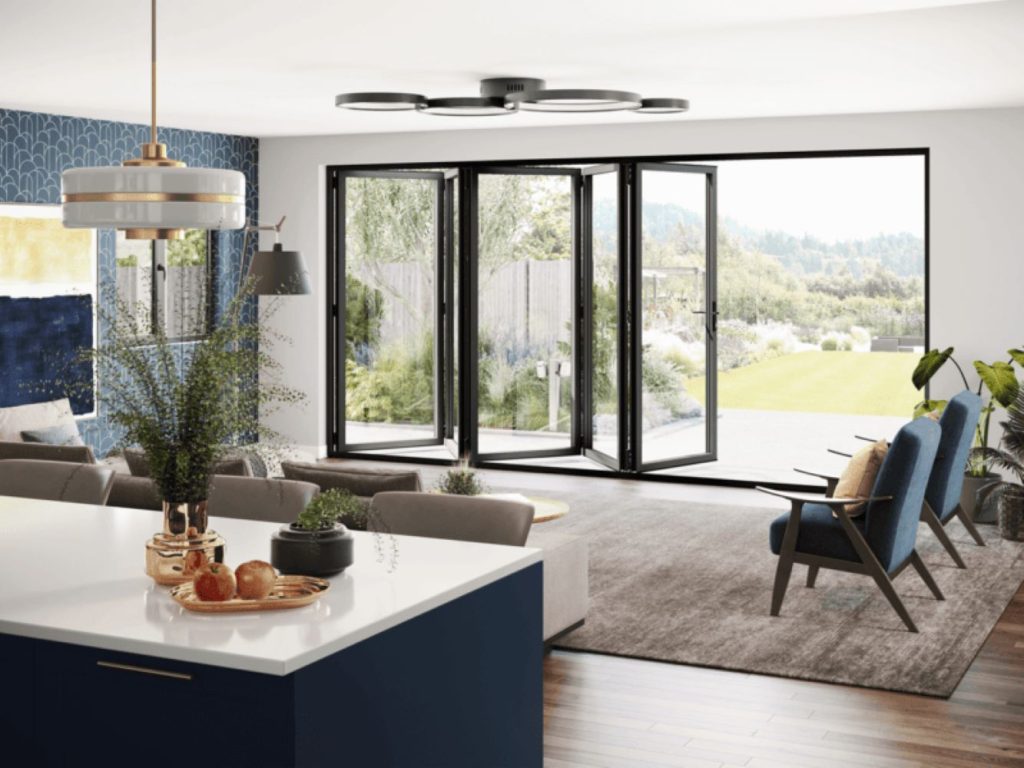
Bifold doors are one of the most popular ways to open up the back of a house.
Every set is made to order, built to the exact dimensions of your opening. At Enhance, we handle that side of it for you. A surveyor visits, takes all the measurements, checks the opening and confirms the specification before anything is manufactured.
There are still reasons you might want to measure up yourself. You might want a rough idea of what your opening will take before getting in touch, or you are planning an extension that has not been built yet, or you are comparing bifolds against a sliding door.
Whatever the reason, this guide takes you through it step by step.
What you need before you start
Accurate measuring needs the right kit. You will need:
- A steel tape measure, 5m minimum
- A spirit level, 1.2m is ideal
- A long straight edge, or a laser level if you have one
- A notepad or your phone to record your base measurements
- A pencil for marking the brickwork
The structural opening and the frame size are not the same thing
This is the point that catches people out more than any other.
The structural opening is the hole in the wall, measured from brickwork to brickwork. The door frame sits inside that opening. When a manufacturer or installer quotes a door size, they are almost always referring to the frame, not the structural opening.
The structural opening has to be slightly larger than the frame, for two reasons. The frame needs packing and shimming to sit perfectly level and plumb, and there needs to be room to manoeuvre it into position at all.
As a general guide, allow 10mm to 15mm on each side and 15mm to 20mm at the head. The exact tolerance is set by the manufacturer’s fitting instructions for the specific system being installed, so treat this as a planning figure rather than an ordering figure.
Step 1: Measure the width
Take the width of the structural opening at three heights:
- 50mm up from floor level, or from where the threshold will sit
- Halfway up the opening
- 50mm down from the underside of the lintel
Write all three down and work from the smallest. Brickwork bows and tapers, and the frame has to pass through the narrowest point.
Check the opening is square
Measure the diagonal from the top left corner to the bottom right, then from the top right to the bottom left. If the two figures are within 5mm of each other, the door opening is square enough to work with. A bigger difference means the head or the sill is out of parallel, which needs sorting before the doors go in.
Step 2: Measure the height
Take the height at three points across the width:
- At the left jamb
- At the centre of the opening
- At the right jamb
Again, work from the smallest reading. Measure from the highest point of the finished floor to the underside of the lintel above.
Finished floor level matters
If the floor is uneven, or there is a step, the usable height changes depending on where you measure. Always measure from where the threshold will actually sit.
This matters most on projects where the floor has not been finished yet. If tiles, engineered boards or a screed are going down after the doors are fitted, measure to the final floor height, not the current one. Fitting a door and then discovering the threshold fouls the new tiles is one of the more common and entirely avoidable problems on a build.
Threshold and cill options affect the height
Bifold doors can be fitted with a low threshold, a rebated threshold, or a flat threshold for level access. Each one sits at a slightly different height, so the choice needs making before the height is finalised.
The Stellar Slimline Bifold Door we fit also has an integrated cill option, which saves 35mm in height compared with a traditional bifold cill. On a refurbishment where headroom is tight, that 35mm can be the difference between a door that fits and one that does not.
Step 3: Check for level and plumb
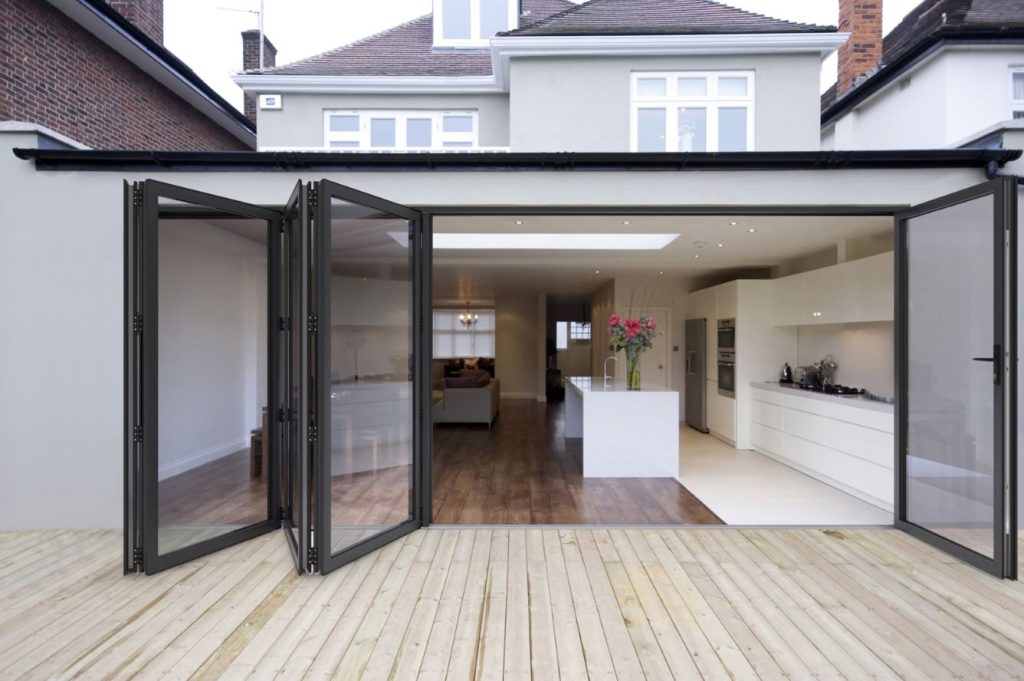
An opening that looks straight rarely is. On older properties, settlement and general movement over decades introduce variations that matter a great deal to a door built to fold and track along a fixed line.
- The sill. Lay your spirit level along the bottom of the opening and note any discrepancy. Within 3mm across 3m is generally workable. Beyond that, the sill needs correcting with mortar, screed or packers before installation.
- The jambs. Hold the level against each vertical side. Any lean greater than 3mm per metre needs correcting, or at minimum flagging to your installer so it can be accounted for during fitting. A bifold hung in an out-of-plumb opening will not track properly and tends to develop draught gaps that can affect energy efficiency.
- The head. Check the underside of the lintel for level. A sloping head puts the top track at an angle, which loads the rollers unevenly and wears them prematurely.
Step 4: Measure the reveal depth
The reveal is the depth of the wall at the opening, measured from the outer face of the brickwork to the inner face of the plaster.
This one gets overlooked, and it matters because it determines whether the frame sits flush with the internal wall, recessed into it, or proud of it. It also determines whether cill extensions or reveal boards are needed to close the gap between the frame and the plaster, and how much depth is available for the structural fixings.
Measure from the outer brick face to the inner plaster face at several points around the opening, top, sides and bottom, and record the shallowest reading. If the reveal varies by more than 10mm between points, the wall has been built or finished inconsistently and the installer will need to make adjustments on site.
Step 5: Work out the panel count
Panel count is not purely a matter of taste. It is governed by the width of your opening and the maximum and minimum sash sizes the system supports.
The Stellar Slimline Bifold Door takes up to seven sashes, with a maximum sash size of 1,200mm wide and 2,500mm high.
There is one rule that catches people out. Stellar allows a maximum of 3,500mm for the height plus the width of a single sash combined. So the taller your doors, the narrower each sash has to be:
- Doors 2,100mm high: sashes up to 1,200mm wide
- Doors 2,300mm high: sashes up to 1,200mm wide
- Doors 2,400mm high: sashes up to 1,100mm wide
- Doors 2,500mm high: sashes up to 1,000mm wide
Once you know your maximum sash width, divide your frame width by it to find the minimum number of sashes you need. As a rough guide:
| Frame width | Sashes |
| 1,500mm to 2,400mm | 2 |
| 2,250mm to 3,600mm | 3 |
| 3,000mm to 4,800mm | 4 |
| 3,750mm to 6,000mm | 5 |
| 4,500mm to 7,200mm | 6 |
| 5,250mm to 8,400mm | 7 |
The traffic door
A traffic door is a single leaf that opens on its own, without folding the whole set back. It is the panel you use day to day, and most people want one.
Decide early whether you want a traffic door and which side it sits on, because it affects how the remaining panels divide across the opening.
Stacking side and stack depth
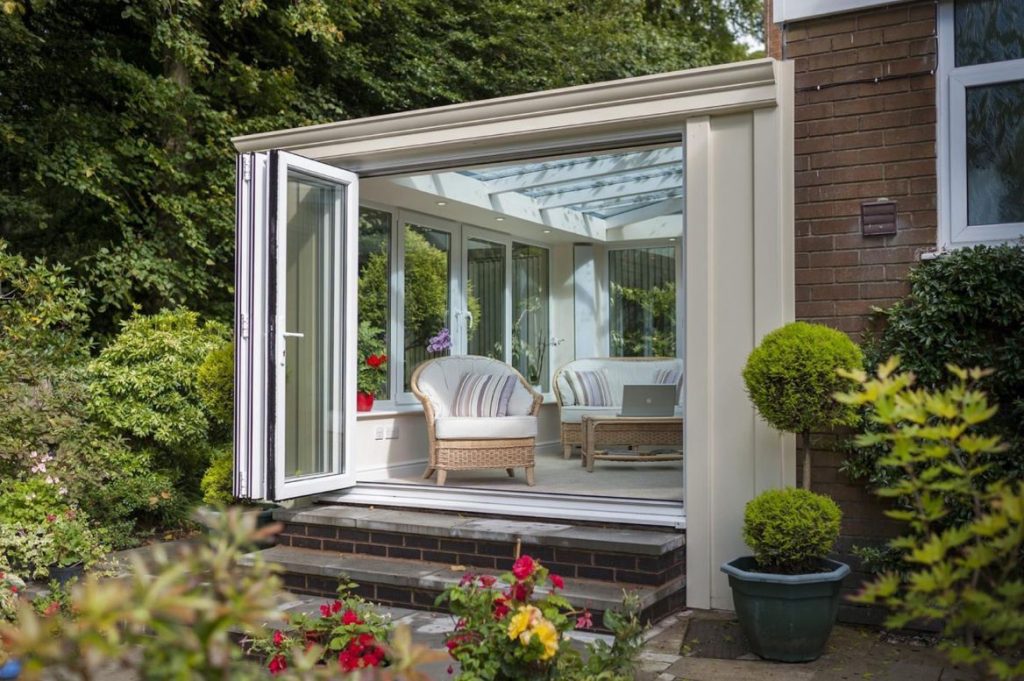
Which side the panels fold to determines how much wall space you lose when the doors are open. Stand at the opening and think about which side has clear wall, and whether a radiator, a corner or a piece of furniture gets in the way.
Folded panels take up roughly 150mm to 200mm of depth each. A four panel door stacking to one side therefore needs somewhere in the region of 600mm to 800mm of clear space to fold into.
Replacing existing doors versus a new opening
The approach differs depending on which situation you are in.
Replacing existing doors
Start by measuring the existing frame rather than the structural opening. That tells you whether a new frame of the same size is a straight swap, or whether there is adjustment to allow for.
Also check whether the existing frame has been plastered or rendered into position, because that affects how cleanly it comes out and whether the structural opening changes size once it does.
A new structural opening
A new opening almost always needs a structural engineer involved, and a steel or concrete lintel properly supported before any brickwork comes out below it.
Once the lintel is in and the opening is formed, leave it at least 72 hours before taking final measurements. Fresh mortar moves slightly as it cures, and measuring too early gives you readings that change.
For a new opening, work in this order:
- Confirm the finished opening dimensions with your builder or structural engineer
- Allow for making good and any internal plastering
- Take your measurements from the finished, dried opening
- Account for any planned floor finishes before settling on the height
Quick reference checklist
Width
- Measured at three heights
- Smallest reading recorded
- Diagonals checked, within 5mm
Height
- Measured at three points across the width
- Smallest reading recorded
- Measured to finished floor level
Level and plumb
- Sill checked, within 3mm across 3m
- Both jambs checked for plumb
- Lintel checked for level
Reveal
- Measured at several points around the opening
- Shallowest reading recorded
- Any variation over 10mm noted
Configuration
- Sash count worked out against opening width and door height
- Traffic door position decided
- Stacking side and stack space assessed
- Threshold type chosen
Why every installation is surveyed
Measuring your own opening gives you a working idea of what is possible, and it makes for a more informed conversation when you come to us. It does not replace a survey, and it is not meant to.
Our surveyors use calibrated equipment, and they are looking for things that are difficult to spot otherwise. A lintel sitting lower at one end. A sill that has been patched badly. A reveal that tapers in a way that will stop the frame sealing cleanly. They also take responsibility for the figures they sign off, which matters when the doors are made to order and cannot be adjusted afterwards.
Every Enhance installation is surveyed before anything is manufactured. Your doors are built to the measured dimensions of your opening, not to a figure estimated at the planning stage.
The doors we fit
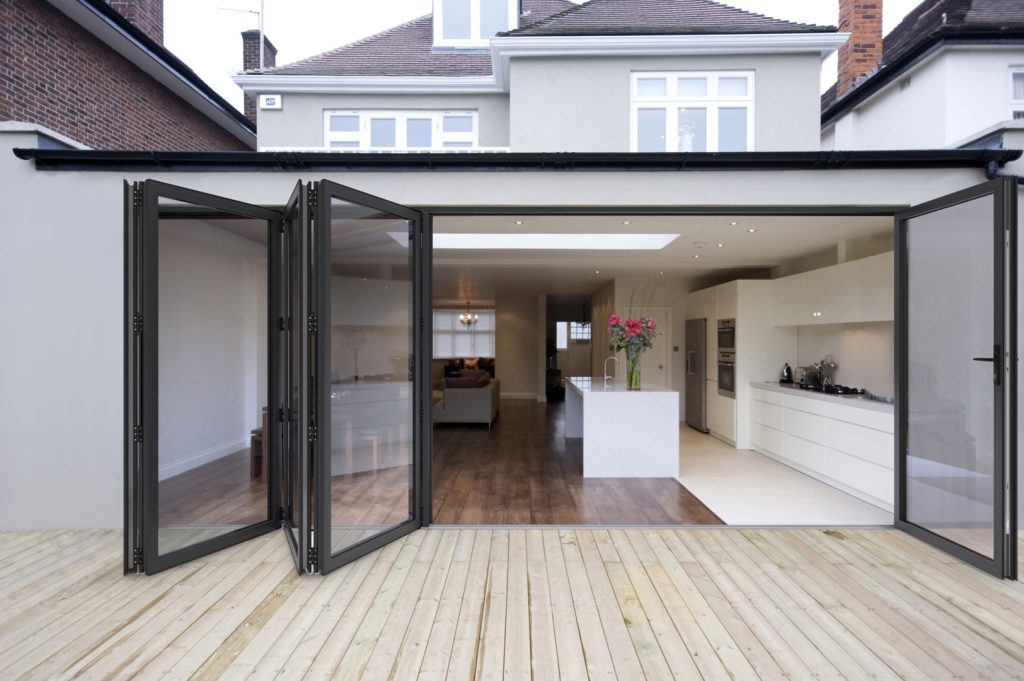
We fit the Stellar Slimline Bifold Door, an aluminium system with slim sightlines and a large glazed area.
- Slim sightlines. The meeting stiles are just 117mm wide, so more of the opening is glass and less of it is frame
- Thermal performance. U-values of 1.4 W/m²K with double glazing, or 1.0 W/m²K with triple glazing, meeting Approved Document L requirements with standard 28mm double glazing
- PAS 24 accredited as standard and Secured by Design, with multipoint locking on the traffic door and shootbolts elsewhere
- Parallel stainless steel tracks and stainless steel rollers, hardware cycle tested to BS 6375-2
- Up to seven sashes, with traffic door, French door and left or right stacking options
- A wide range of powder coated colours, including dual colour options with a different finish inside and out
Ready to get exact figures?
Measuring up yourself is a good way to sense check a project. When you want confirmed dimensions and a price, our team will visit, survey the opening properly and take the guesswork out of it.